In the ecological building game Terra Nil, your task is to transform a ruined landscape into a thriving oasis. Your main goal is to create a new environment by using your skills in landscape design, resource management, and ecosystem maintenance. In this guide, you’ll learn all the most useful Terra Nil tips and tricks to help you get the most out of the game, especially in the beginning.
Table of Contents
1) Your resources are limited
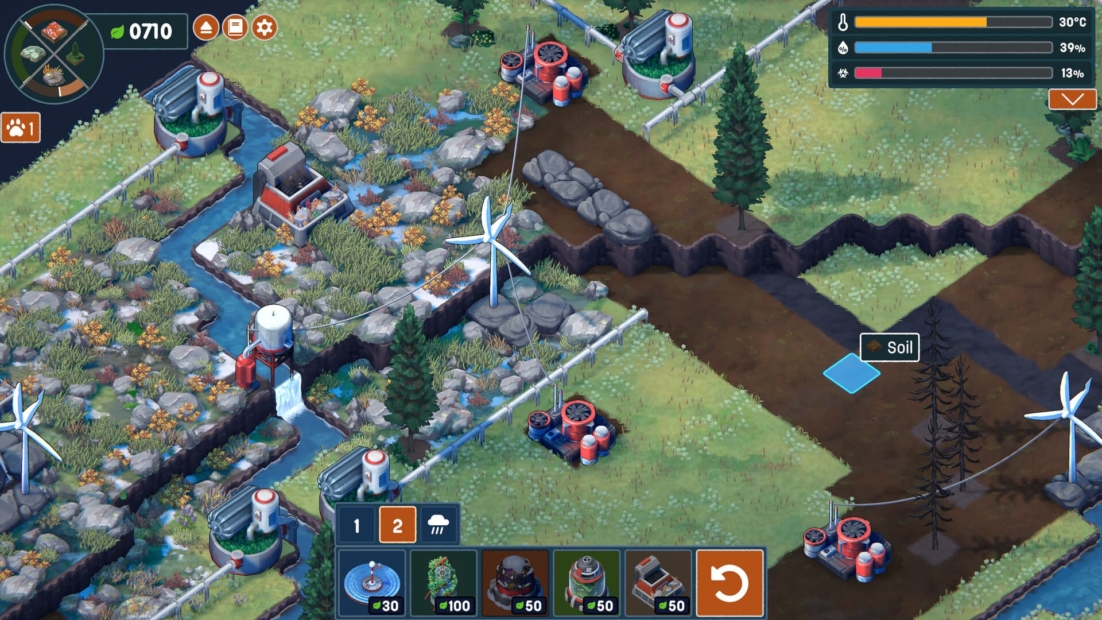
One common mistake, especially at the beginning of Terra Nil, is to waste your resources building your irrigation systems and toxin cleaners. You can easily see how many resources you have left by looking at the leaf icon at the top left of the screen. However, to revive the Wasteland, you’ll need to build the equipment described above.
Be sure to place irrigation systems on every available rock to cover as much of the area as possible. The toxin cleaners, on the other hand, should be placed as close to the edge of the approved area as possible, as this will maximize your coverage. In general, you should always cover as many areas as possible with your plants to maximize the return on your leaf investment.

An efficient tactic is to place the irrigation pieces like a Tetris puzzle, using the L-shaped pieces to create square areas. To configure, change the placement of each piece by pressing the R key. When you run out of room for the poison washers, you’ll need to use the excavator and the estimator.
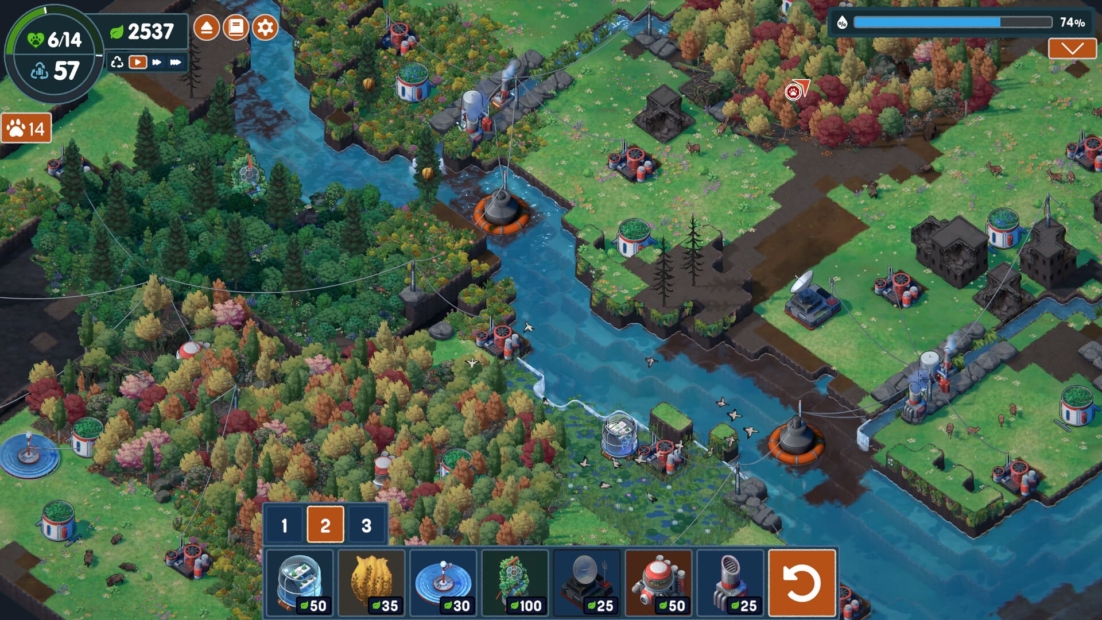
Use the excavator to dig trenches, which you can then fill with water to widen rivers and attract animals. Then use the estimator to create rocks on which you can install new irrigation systems.
2) How to unlock all animal habitats
Each animal in Terra Nil needs its own unique habitat to develop, reproduce and survive. Your animal scanner will show you the specific needs of each animal. The scanner will also tell you what is missing from each menu.

Once you’ve reached the final level, you’ll be able to play around with the different environments, as you’ll have access to a much larger number of resources than at the beginning of the game.
Also, don’t be afraid to destroy things, set them on fire, or otherwise alter the landscape. Regularly try to complete the optional objectives that appear in your drop-down menu. This will give you some structure over time, and at the same time, the right temperature and humidity for the animals in your lush wilderness will get better and better, making them more and more viable.
3) Think about the species in advance
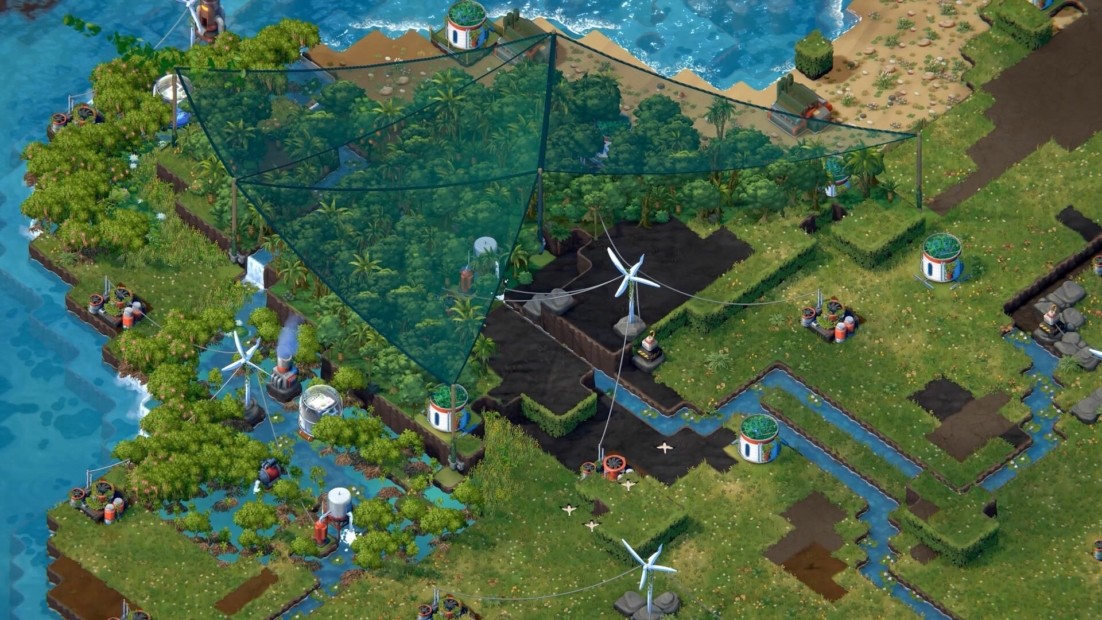
To complete the map, you’ll need to attract three different species to your wilderness. It’s best to plan this out in advance in Terra Nil, as you’ll need large areas of water to attract geese, for example, so you’ll need to think carefully about where to place them.

Attracting deer, on the other hand, is particularly easy, as they only need an area of grassland. Wolves are also easy to attract if there’s a forest near a meadow full of deer.
All in all, keep an eye on your farming, but mistakes can be corrected. Remember that irrigation is your only source of income at the beginning. So make sure you spend your money in a way that you can use it as much as possible in the first few rounds to get yourself in a good financial position.
4) Terra Nil tips and tricks: Recycling made easy
The recycling phase in Terra Nil can be a bit annoying, especially if you have to deal with monorails in the later maps of the game. On the first map, you can use the recycling silos to recycle nearby buildings and then chase the drone into the silos to destroy them.
On the later maps, you’ll need to use the monorails to build a train network, using the estimators to create rocks on which to build the monorails. The best way to do this is to remove all the buildings in reverse order so that the train doesn’t destroy itself.
5) Greening tips
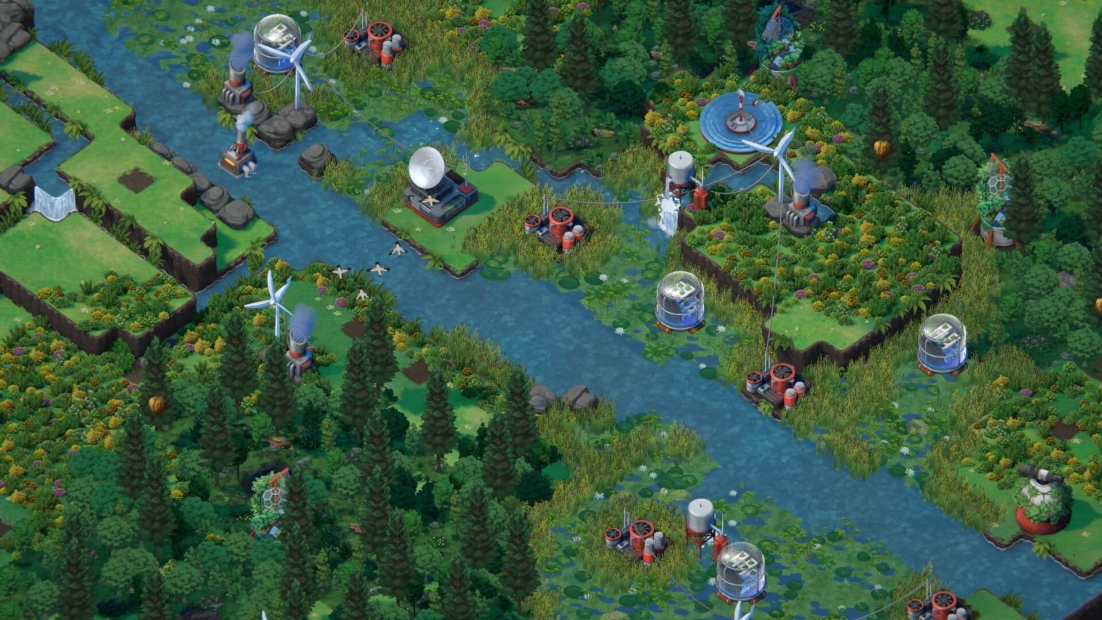
Although you’re initially given a greening goal of 100%, this doesn’t mean that you have to cover the entire area. It just shows you the percentage you’ve already achieved.

It’s also possible to achieve 100% greening by covering only about three-quarters of the map. However, don’t let this discourage you from continuing to expand once you’ve reached your greening goal, as you’ll gain more resources by continuing to green.
6) Build an efficient river system
Once you’ve reached the third stage of a terraforming project in Terra Nil, you need to remove all the buildings you’ve built and then finish the map. By far the most resource-efficient way to do this is to transport the remains of the buildings across the water by building an efficient river system. Rivers also hinder the controlled deforestation that you’ll do in the second part of the game to create forests.
Therefore, make sure to use as many existing riverbeds as possible, and develop all areas where you have buildings. However, the tributaries should also be connected to the main river so that your boats can reach all destinations.
7) Terra Nil Tips on excavator placement
Excavators are crucial in Terra Nil because they create riverbeds that you can use to open up new parts of the map via rivers, place new turbines, and give boats access to them later. Keep in mind, however, that you’ll be plowing through the greenery, which you’ll have to painstakingly replace. Be sure to place the excavator at the end of the riverbed it creates. This is the only way to connect the two rivers.
Create a thriving ecosystem with PLITCH!
Now that you’ve learned the most important Terra Nil tips and tricks, getting started shouldn’t be too hard. It’s also a lot of fun to explore the game on your own and get better and better. With the Terra Nil cheats from PLITCH you can customize the game if, e.g., you get stuck at some point and want to make the game easier.
For example, with the “build for free” code, you can save the resources needed to build a factory, or with the construction codes, you can choose to build anywhere or ignore building requirements. You also have the option to add or subtract leaves to give yourself an extra challenge.
Check out this blog and our YouTube channel to learn more about PLITCH!
Happy Gaming!