Before the second part of the series is released, Studio Wildcard has given us an extensive remake of Survival Evolved. In addition to comfort and graphical improvements, thanks to Nanite technology, the DLC Scorched Earth is also included. In our Ark: Survival Ascended tips and tricks, we show you what you need to know as a newcomer to the Ark universe.
Table of Contents
1) Pick a good starting area
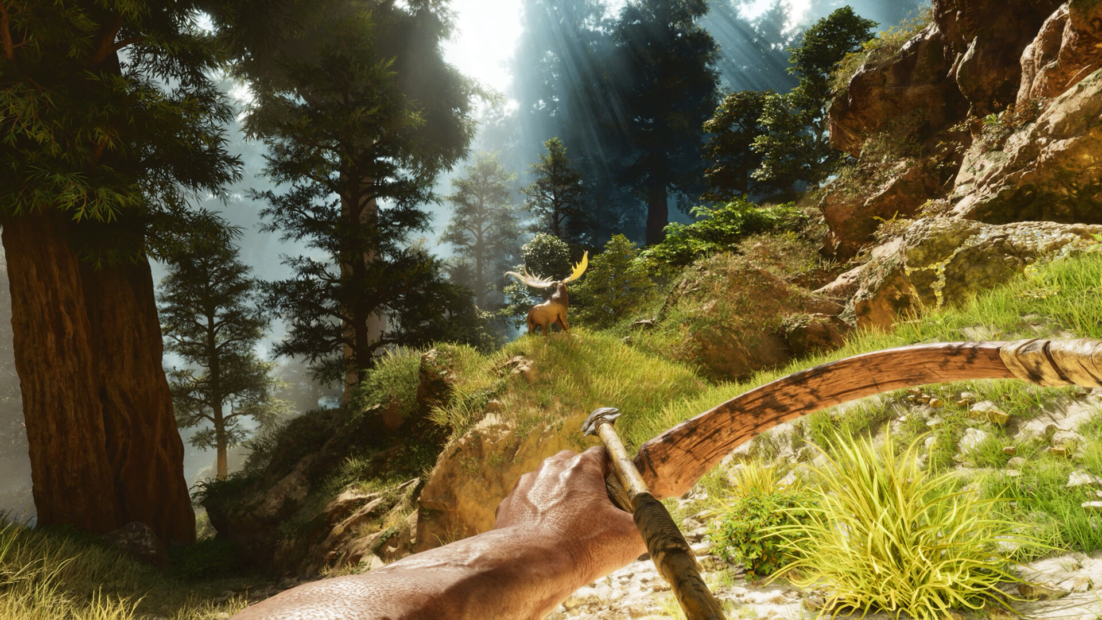
Your choice of starting area will determine your level of difficulty. We recommend starting near the shore. On the beach, you’ll be better able to satisfy your character’s needs. You’ll have constant access to water sources. As in the original Ark, there’s no difference between salt and fresh water. Both are safe to drink.
Speaking of danger, another benefit of choosing one of the beach start areas in Ark: Survival Ascended is the creatures you’ll encounter. Although you’ll encounter crocodiles and other ravenous creatures near the shore, you’ll unlikely encounter any fearsome dinosaurs. Most creatures are harmless herbivores.
What’s more, they have a wide variety of prey to choose from. Dodos provide good meat, and you can also get leather to make items and your first clothes. The beach has all the basic resources you need to get started.
Avoid venturing into the surrounding forests at first. There are fast and merciless predators that would love to eat you. You should also avoid hotspots near the shore, such as where you encounter crocodiles. Also, you shouldn’t swim too far out to sea initially. There are dangers there as well.
2) Ark: Survival Ascended tips: Collect berries

Berries are an interesting resource in Ark: Survival Ascended. You can find them in bushes all over the game world, and it’s very easy to collect many of them quickly. Hold the E Button while running through the bushes, and they will automatically be added to your inventory.
They can also be used as a quick source of food. Your supply will regularly be too large to eat, so some of them will spoil. But that doesn’t matter. It doesn’t take much effort to get them, and if you need more, you can just run through some bushes again.
3) Always carry bolas
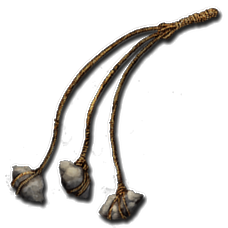
Bolas are throwing weapons in Ark: Survival Ascended that can stun and immobilize dinosaurs. This will come in handy in various ways, so make sure to carry them at all times. However, they will not affect a huge predator like a Stegosaurus. But they do a great job of keeping raptors at bay.
Once you’ve captured your enemies with the bola, they will not be a threat to you for 30 seconds. This gives you time to either kill them with arrows or run away. Bolas can also be used to tame or immobilize herbivores.
They are made of either straw, stone, fur, or fiber. They are very easy to make and their uses are almost limitless.
4) Spend your stat points wisely
Almost everything you do in Ark generates experience points. When these reach a certain amount, you level up and receive a status point. You can then spend them on a wide variety of items.
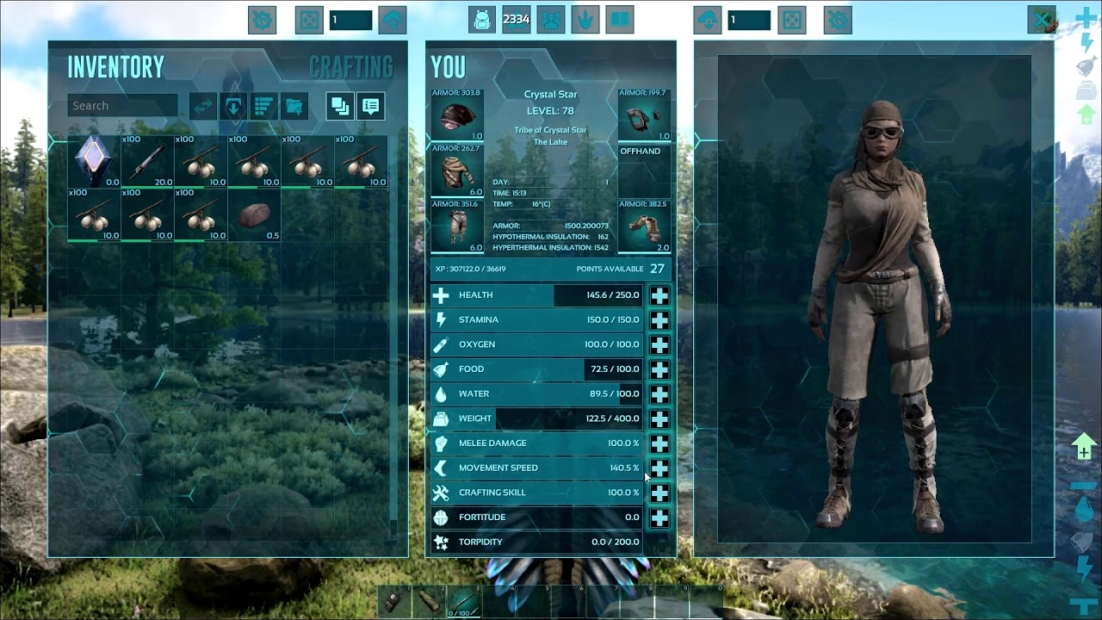
The choice can be confusing for beginners. To avoid wasting your hard-earned points, we recommend that you focus on the basics in the beginning. These include food and water to reduce hunger and thirst and health to take as much damage as possible.
Speaking of damage: Don’t skimp on investing points in melee damage. This will reduce the effort required in combat and increase your chances of winning. You should also increase your weight limit to be able to carry more items.
5) Unlocking engrams
In addition to your attributes, engrams help you progress in Ark: Survival Ascended. These are also unlocked with each new level and give you blueprints and recipes for new tools, components, and structures.

Try to reach level 4 as quickly as possible to get the blueprints you need to build a shelter. You’ll definitely need it to survive.
6) Build a straw hut
Let’s look closer at building a shelter in our Ark: Survival Ascended guide. After all, this is a true PvE game where you must protect yourself from the wilderness and everything that comes with it.
The first thing you can build with the help of your unlocked engrams and initial skills is a straw hut. This is good protection against most animals you’ll encounter in the first few hours of the game. If you played the original Ark: Survival Evolved, you’ll notice that the remake requires fewer engrams to build structures.
The building process is the same. First, you place a foundation as the base of your hut. Then you put the walls, the doorway, and any windows. Finally, it’s time for the roof. As your character levels up, you will replace the straw elements with wood or stone components.
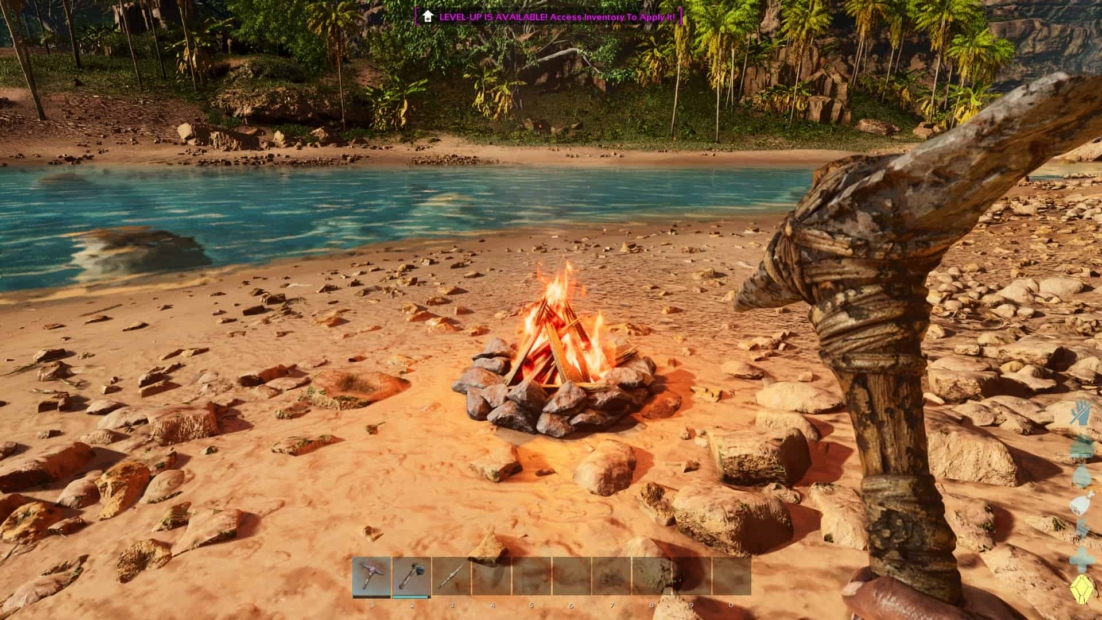
7) Craft important stations
Crafting is crucial throughout the game. However, a few stations are especially important at the beginning of Ark: Survival Ascended. One of the first is the campfire, which provides warmth and cooks food. You can also burn wood in it to make charcoal. This, in turn, can be used to make gunpowder.
Mortars and pestles are also important. They can be used to make tranquilizers to tame animals, to make gunpowder and other things. Each shelter also has a bed. You won’t be able to spend the night in these, but they serve as spawn points for quick travel. Throughout the game, you’ll build many other stations, such as the Fabricator, where you can create weapons and other equipment.
8) Tame a dinosaur
Unlike the original, Ark: Survival Ascended no longer allows you to upgrade your movement speed. Fortunately, the game’s ecosystem has some valuable animals to compensate. By taming mounts, you can escape more quickly and cover greater distances in less time for exploration.

We recommend that you try a Parasaurus first. They have good speed and stamina. They are also relatively easy to tame and can warn you of approaching enemies. However, they are relatively ineffective in combat.
In the later hours of Ark: Survival Ascended, you can try to train a Raptor to be a good attacker for your dinosaur army. By the way, the berries you collect in the bushes can be used for some taming. Stun arrows also make the process easier.
9) Gather important resources

You’ll need many resources to craft items and upgrade your camp in Ark: Survival Ascended. Making an axe as early as possible is best to get wood faster. A pickaxe is also essential. For example, you can use it to mine crystals to make water jugs.
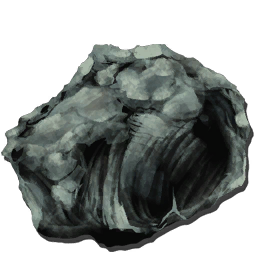
This means you no longer have to search for rivers along the way, but can carry a water supply directly in your inventory. Metal and obsidian deposits can be found in mountainous areas. You’ll need metals very often. Silicon beads are also helpful. You can find them mainly in riverbeds and at the bottom of lakes. You can recognize them from a distance by their glitter.
Metallic deposits also stand out visually from their surroundings. Unlike normal rocks, they are decorated with silver veins. Gathering resources is even faster if you use animals to help you. Tame a Triceratops and have it gather straw and berries.
Customize your dinosaur adventure with PLITCH!
With our Ark: Survival Ascended tips and tricks, you’ll quickly find your way around the world of the remake. Most of the gameplay is similar to Survival Evolved, and many of the changes are minor (the flashlight is now reusable, for example). Thanks to the Ark: Survival Ascended cheats by PLITCH, you can customize your adventure to make it easier or harder.
Increase your experience points or the number of items you have. You can also change your crafting skills, movement speed, and melee damage. You can even tame animals instantly.
Check out this video to see our Ark: Survival Ascended cheats in-game and this blog to learn more about PLITCH!
Happy Gaming!