Imagine having to navigate a normal-sized world. Sounds boring? But what if you were shrunk to the size of an ant? In our Grounded 2 tips and tricks, you’ll learn how the new combat system works, how crafting works, and how to stay alive in Brookhollow Park.
Table of Contents
1) Tips for Buggy Mounts
Probably the coolest and most useful new feature in Grounded 2 is the ability to explore the map with rideable insect companions. Instead of having to fight your way through on foot, you can simply hop onto the back of a buggy, gaining both a fast way to get around and a helpful partner for survival.
A buggy offers numerous tangible benefits: It assists you in combat and can even block attacks. It has its own inventory, making it easier to transport raw materials and other items. Additionally, it can go out on its own to search for resources and gather them for you.
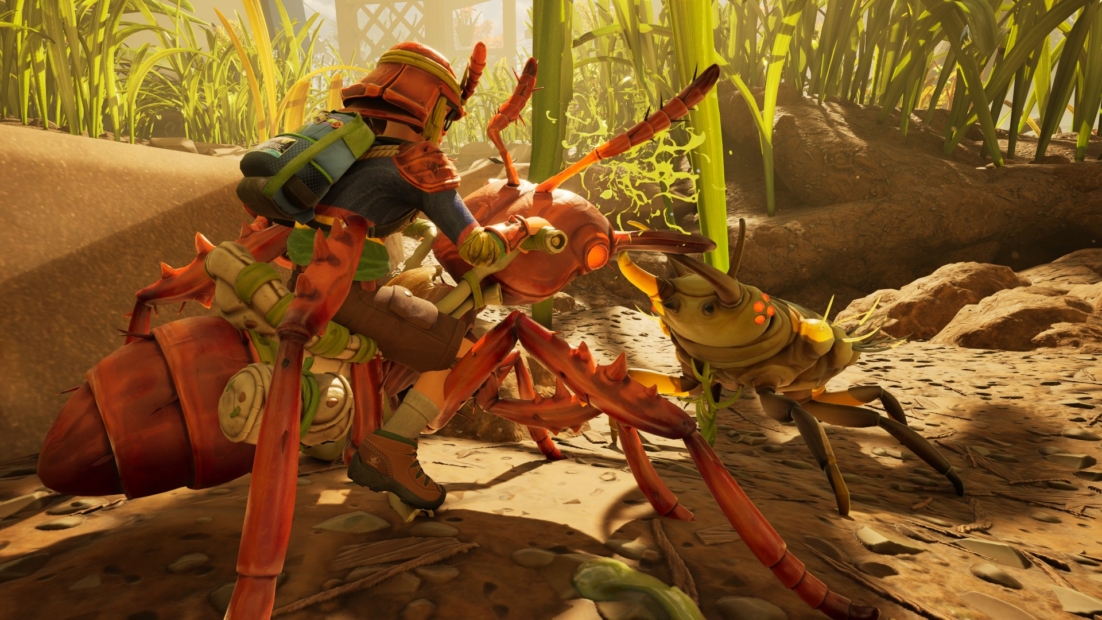
Even when you’re not riding your buggy, it stays nearby and can support you with its fighting ability in an emergency. Your buggy is almost indispensable, especially when you need to gather large building materials like grass or weed stalks.
When choosing your buggy in Grounded 2, you can pick between an Ant Soldier and an Orb Weaver Spider, for instance. The Orb Weaver Spider has much higher fighting power and is great for exploration. The Ant Soldier, however, is a dependable construction helper and can carry a lot. It’s also available early in the game.
2) The combat archetypes
Grounded 2 goes a step further than its predecessor in terms of combat by introducing a class system. There are now four combat archetypes, each with its own style. However, these styles aren’t fixed and can be changed or switched during the game depending on your equipment.
As a mage, you wield elemental powers through candy staves. The new Butterfly armor provides support. Rangers focus on ranged combat. With a bow and matching armor, like the Orb Weaver set, you can eliminate enemies from a safe distance.
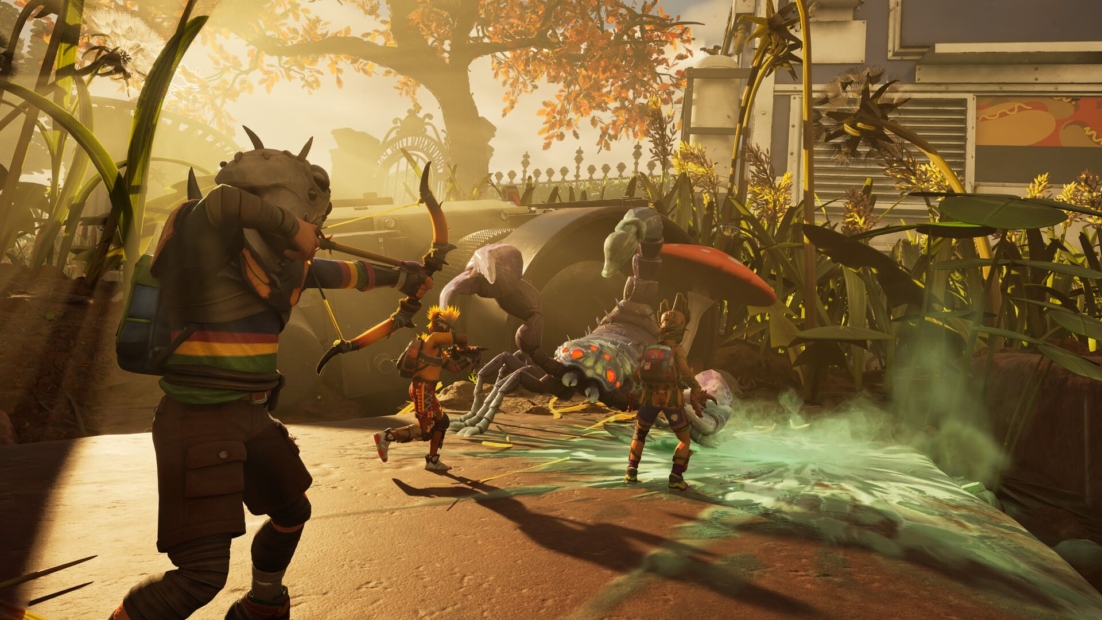
The warrior in Grounded 2 is a classic melee fighter with high stamina. This archetype relies on heavy clubs or a defensive fighting style with a sword and shield. It’s best paired with the Ladybug Armor.
The fourth style is the Rogue. This role focuses on speed and poison, allowing you to wield two daggers simultaneously.
3) The new Omni-Tool
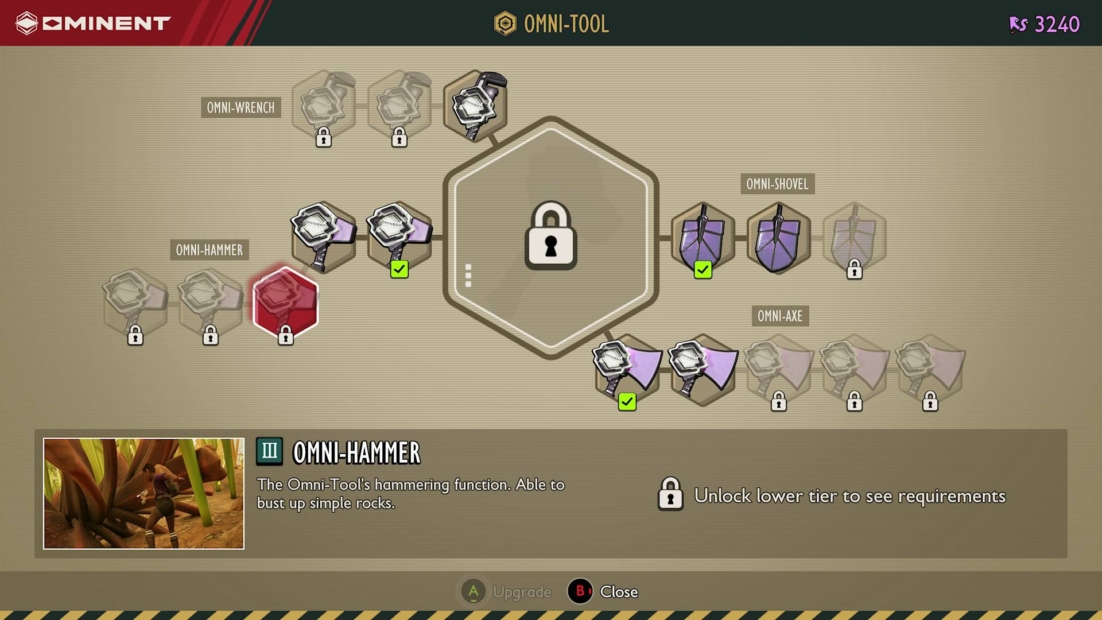
The Omni-Tool in Grounded 2 has greatly simplified inventory management. Instead of carrying a separate hammer, axe, or shovel, all these tools are now combined into one handy device. Unlike the tools in the first Grounded, the Omni-Tool can’t break. You can hack, hit, and dig as much as you want without worrying about finding a replacement.
4) Analyze everything you find
Analyses are very important in Grounded 2. They help you unlock new natural resources, for example. When you examine a raw material, an entry appears in the crafting menu showing you where to find it and what it can be used for. After that, it can also be located using the resource analyzer.
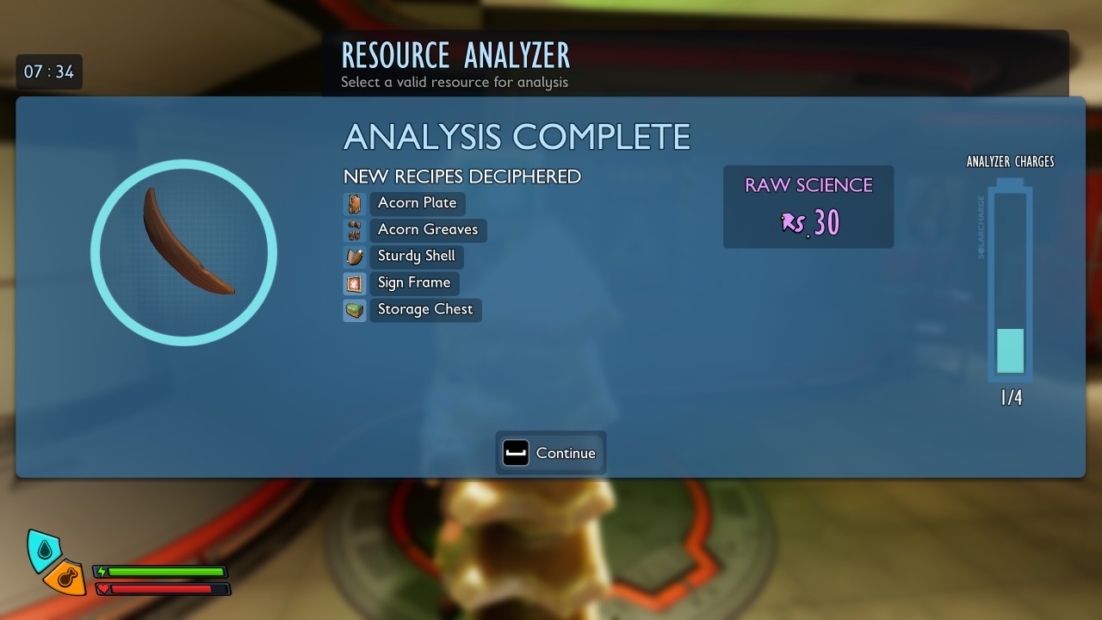
Another benefit of analysis is that it reveals new building and crafting recipes. Scanning not only unlocks more powerful equipment but also essential basic items like cooking stations, smoothie machines, and dew collectors. This gradually expands access to new game systems.
You’ll become familiar with your resource analyzer immediately upon arriving at the Ranger Outpost. We suggest scanning everything you encounter from the very start. It doesn’t matter if you’ve defeated an insect or discovered a new raw material; whether you find a branch or a new mineral, make sure to take out your analysis device and begin scanning.
5) How to get water
Water is one of the most valuable resources in the game. That’s why we want to show you how to get the cleanest H2O possible in our Grounded 2 tips and tricks. While you can theoretically scoop contaminated water from any pond or river, the clean version is definitely the better choice.
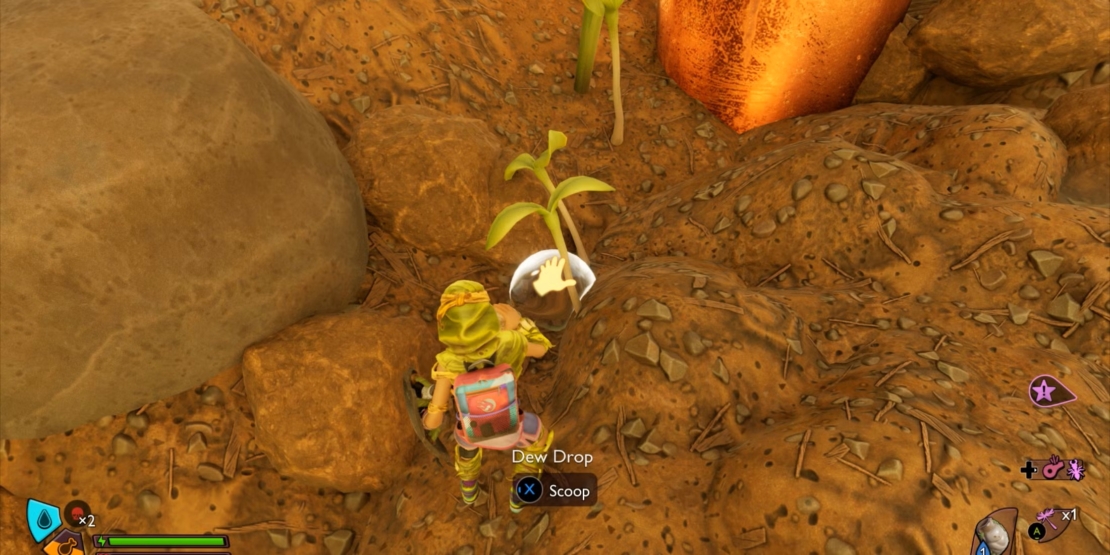
For example, visit the Snack Bar at the Ranger Outpost. There is a pipe there that constantly drips a few drops of water that you can collect. An even better way to build up your supply, however, is to collect dew drops. You can find these on the tips of blades of grass. Simply hit the stems, and the water will detach from the plant.
The best time to look for dew drops is, of course, early in the morning. When the sun is at its zenith, it causes the cool and life-saving moisture to evaporate.
6) Craft a canteen
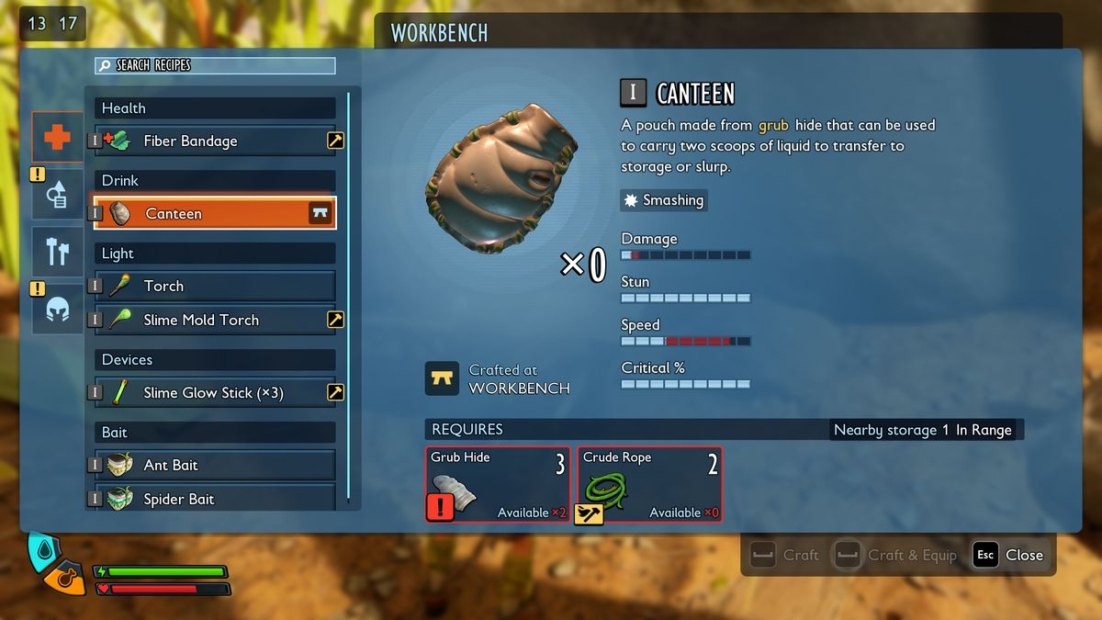
To store the water droplets you find in Grounded 2, you need a canteen. To craft it at the workbench, you need three pieces of grub hide and two pieces of crude rope. Craft it as early as possible, and always keep in mind: Always stay hydrated!
7) Mark important points
Especially at the start of the game, you’ll often come across interesting places that can’t be entered right away. These include, for example, crumbling walls, buried objects, or hidden tunnels. To remember their locations and find them again later, you should mark them.
It’s best to use the Trail Markers for this. Not only are there an unlimited number of them, but you can also choose different colors and symbols. For example, you can use red markers to indicate danger and green markers to signify raw materials. Trail markers are visible both within the game world and on the map.
8) Build a base
Base building is a key game mechanic in Grounded 2, but it’s entirely optional. It lets you create safe shelters far from the park’s dangers. For example, you can store your collected loot there securely.
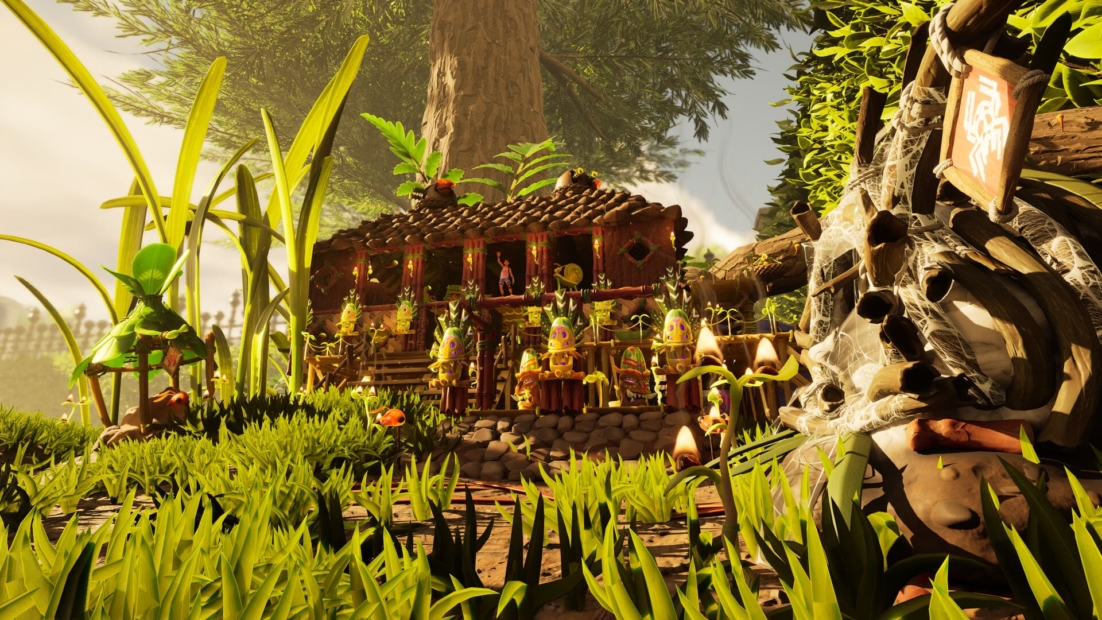
First, you need science points to unlock your building kit at the terminal in the outpost. It’s best to choose the location of your new base so that it is close to important resources like water, food, and grass. It should also be out of reach of hostile insects.
9) Equip mutations
Depending on your preferred play style in Grounded 2, you’ll earn mutations for certain actions. For example, if you frequently fight with the club or push your stamina to the limit, you’ll receive bonuses for these activities. However, these only activate once you equip the corresponding mutations.
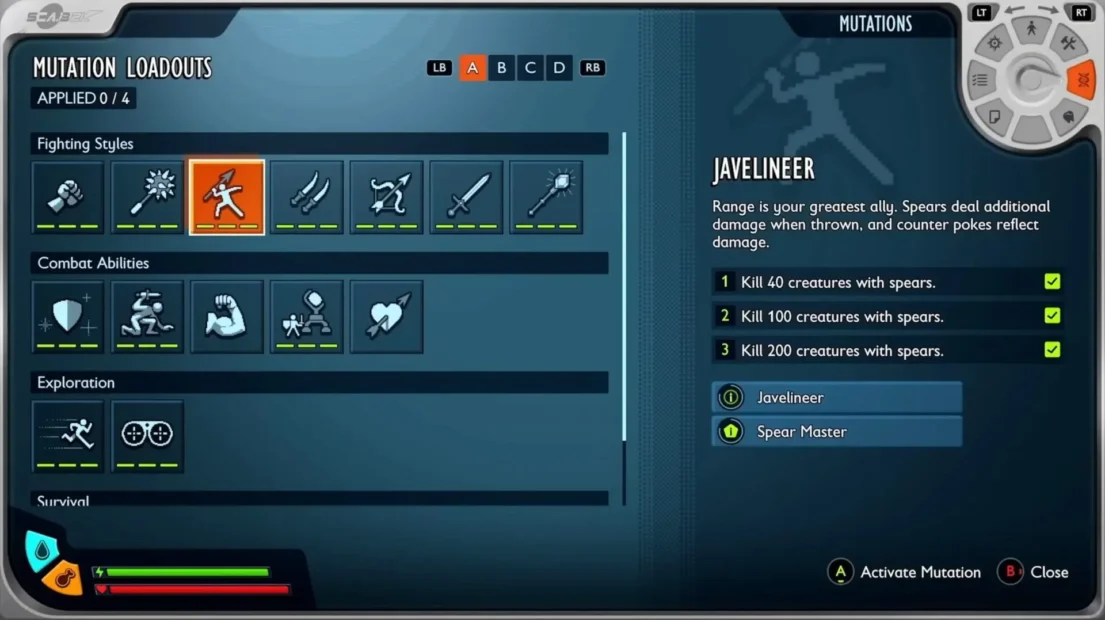
At first, you can only use two of them at a time. However, this number increases as you progress through the game with the help of milk molars.
10) Upgrade your items
Weapons and clothing are categorized into tiers. While you begin with Tier I gear, you’ll eventually unlock access to higher-quality items. These offer improved base stats and come with unique bonuses.
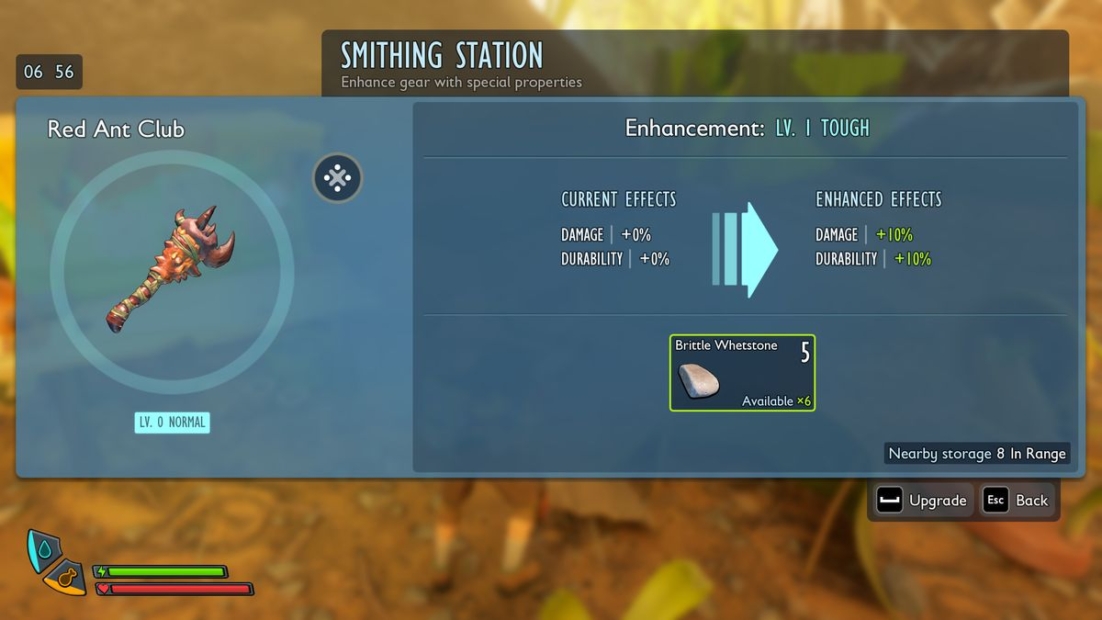
Since you won’t always find new equipment to prepare for more dangerous areas, you should upgrade your current items at smithing stations. To do this, you’ll need whetstones and armor plates. Weapons will deal more damage, and your armor will become more durable.
Your Omni-Tool can also receive regular upgrades. To unlock them, you’ll need to complete Ranger Challenges and collect Science Points.
11) More Grounded 2 tips
- Especially at the start, the small white mushrooms scattered across the park are a good food source.
- Cobwebs and traces of ants indicate that you’re in a dangerous area.
- In the first few hours of the game, follow the main story closely instead of exploring the world on your own.
- Even if you don’t have all the materials for a structure yet, you can still start building. This will use up the raw materials you’ve already collected, freeing up more space in your inventory.
- The game will alert you to potential danger by changing the background music. The more intense the sound, the more serious the threat.
Survive the insects with PLITCH!
Our Grounded 2 tips and tricks will help you survive your first few hours in Brookhollow Park. Thanks to PLITCH’s Grounded 2 cheats, you can customize your experience as a tiny person even more. Easily restore your health, food, or stamina with a press of a button, or switch straight to Godmode.
With our single-player trainer, you can freeze the time of day, add science and research points, or make it easier to build your base and produce materials.
Check out this blog and our YouTube channel to learn more about PLITCH!
Happy gaming!