In the pirate survival adventure Windrose, building a reliable base is essential for crafting, storing resources, resting, and preparing for longer journeys. In this Windrose Building Guide, we’ll help you choose the right location, gather Wood more quickly, place walls correctly, upgrade stations, and avoid frustrating layout mistakes.
Table of Contents
Which Location to Choose
Once you decide to build a base in Windrose, your first priority should be the location. A good spot saves you time, resources, and a lot of frustration when building later.
The most important thing is to be close to trees. Wood is one of your main building materials, especially early on, so placing your base near clusters of trees makes crafting and expanding much easier.
Look for a spot with:
- Plenty of trees nearby
- Flat ground
- Water access
- Enough room to expand
- A dock or shoreline close by
Flat ground is especially important. Sloped terrain can make wall placement awkward, and once you start using angled pieces, roofs, and extensions can quickly become annoying. For your first base, practical is better than pretty.
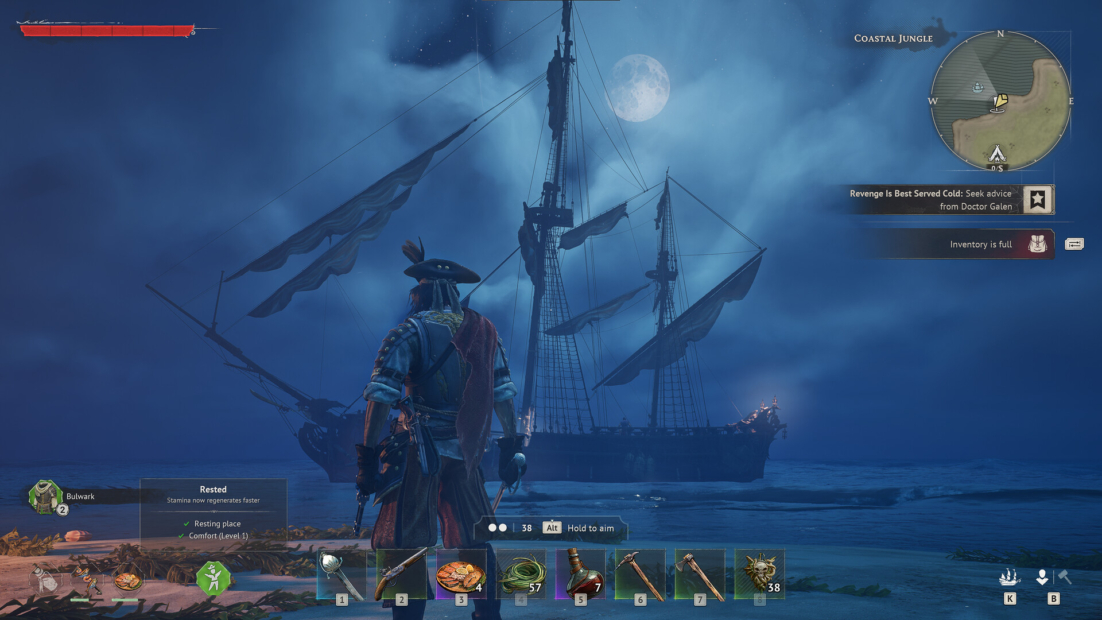
Dock access also matters. Since sailing is a big part of Windrose, building close to the water helps you reach your ship faster and keeps exploration from becoming a walking chore.
How to Gather Wood Fast
Wood is one of the most important resources in Windrose, and you’ll need a ridiculous amount of it once you start building properly. Even a single window costs 15 Wood, so a base with 10 windows already consumes 150 Wood before you place anything fancy.
The fastest way to gather Wood is to look for clusters of palm trees. If the trees stand close together, chopping one can knock down others nearby, giving you much better returns on your stamina.
Prioritize these sources:
- Palm tree clusters for the best Wood yield
- Shipwrecks for Wood and Nails
- Stumps for a small bonus of around 4 Wood
- Secondary islands, once you have a ship
Shipwrecks are especially useful because they also give you Nails. That means you can save your crafted Wood for actual construction instead of constantly burning through it to get extra materials.
Stumps are fine when you pass them, but they should never be your primary farming method. The yield is too low for serious building.
The hard truth is simple: you’ll always need more Wood than you expect. Before starting a big build, gather more than you think you need. Then gather a bit more. Your walls, windows, railings, and upgrades will quickly deplete your stockpile.
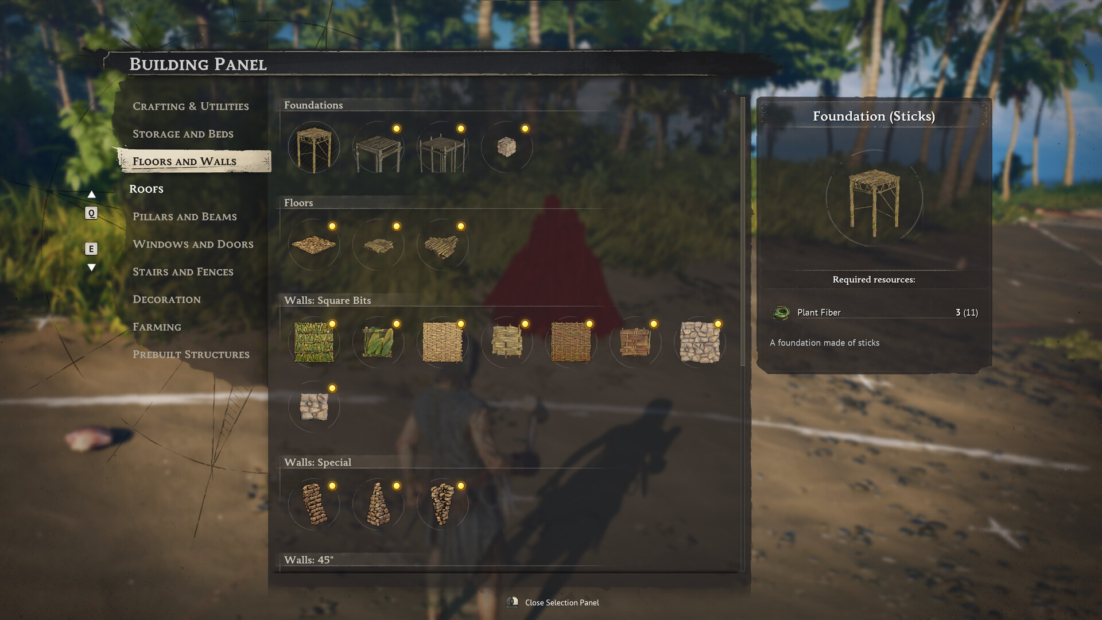
Place Walls Correctly
Building in Windrose gives you a lot of freedom, but wall placement can be a bit stubborn. Wall pieces snap into place, but they need the correct facing to sit flush.
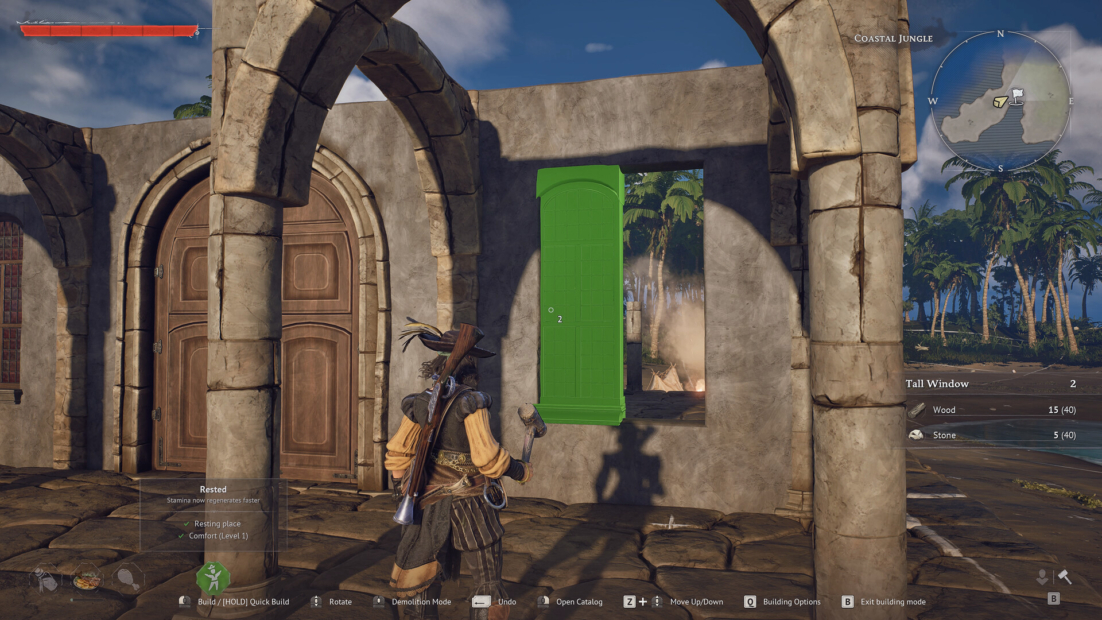
A quick way to check the direction is to look at the plank side. The side that should face inward usually has one full plank on top and two half-planks at the bottom. Sometimes the game still flips the wall, so always check before confirming your layout.
Keep these wall basics in mind:
- Large Walls are best for the main exterior walls
- Small Walls help with half-height sections and transitions
- Diagonal 45° Walls work well for standard roof slopes
- Diagonal 26° Walls are useful for shallow slopes, but have no plank variant
- Window Frames look nice, but cost 15 Wood each
- Palisades are useful for railings and perimeter fencing
When renovating, remember the most important rule: destroy from the bottom first. Windrose tracks structural support, so removing the wrong load-bearing piece can cause parts of your build to collapse.
The 26° wall piece is also worth planning around. Since it doesn’t come in a plank version, you either accept the bark look or hide the gap with a wider roof overhang. It’s not perfect, but it works surprisingly well.
Follow the Right Build Order
When building your base in Windrose, function should come before style. A pretty house is nice, but it won’t help much if you’re missing the structures that actually keep your progression moving forward.
Start with the essentials first:
- Bonfire: This defines your build radius and serves as the anchor for your base. It only costs 5 Wood, so place it early.
- Foundation, walls, and roof: A basic enclosed structure provides you with spawn protection, storage space, and the rested buff. Don’t skip this step.
- Workbench: The Workbench is one of the most important crafting stations in Windrose. Most of your tools and early progression rely on it.
- Storage chests: Your inventory will fill up quickly. Build storage before your base becomes a pile of dropped items.
- Charcoal Kiln and Smelting Furnace: These unlock Copper Ingots, which are required for armor upgrades and more advanced crafting.
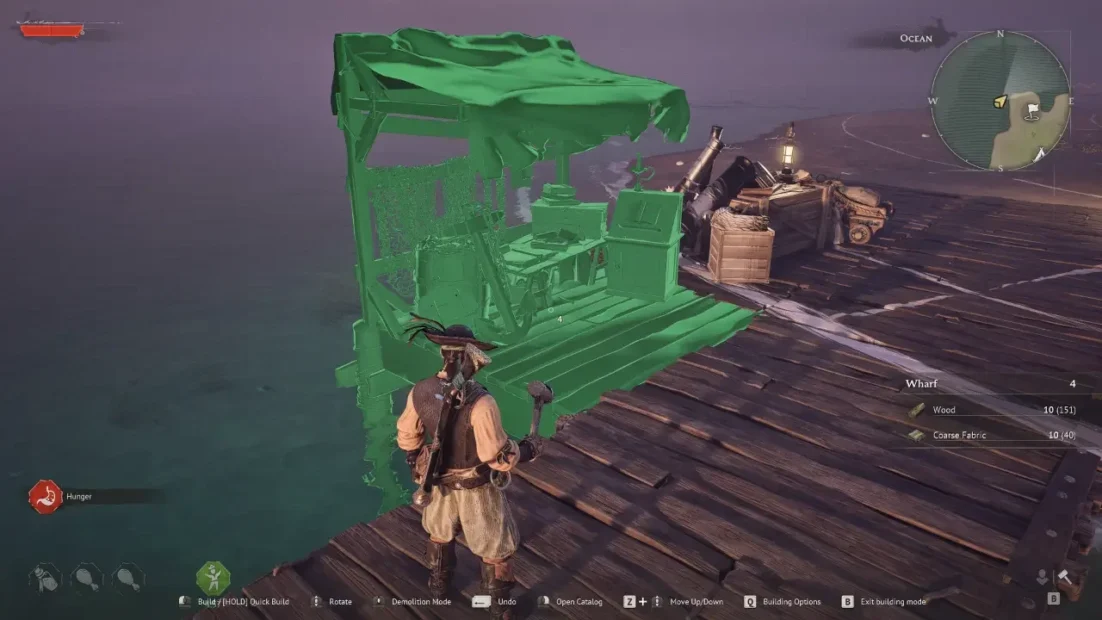
- Wharf: Once unlocked via the cannon quest, the Wharf is essential for ship management, upgrades, and customization.
- Windows and decorations: Windows cost 15 Wood each, so treat them as a luxury. They look great, but they should come after the important systems are already in place.
Demolishing Buildings
In Windrose, you can’t simply pick up a placed object and move it elsewhere. If a chest is in the wrong spot or a wall is facing the wrong way, you need to demolish and rebuild it.
Luckily, the system is very forgiving. When you destroy something you built, you get 100% of the materials back, so placement mistakes are annoying but not expensive.
To demolish a structure:
- Press B to open Build Mode
- Click the middle mouse button to enter Destroy Mode
- Aim at the building piece you want to remove
- Click to destroy it
- Rebuild it in the correct place
Before you start tearing down half your base, check your inventory. Refunded materials go straight into your pockets, and if your backpack is full, they spill onto the ground.
So, before remodeling:
- Empty your inventory
- Store heavy materials
- Make space for refunded resources
- Demolish large sections carefully
Upgrading Crafting Stations
In Windrose, crafting stations don’t level up through a simple menu. Instead, you upgrade them by placing the appropriate add-on structures within your base area.
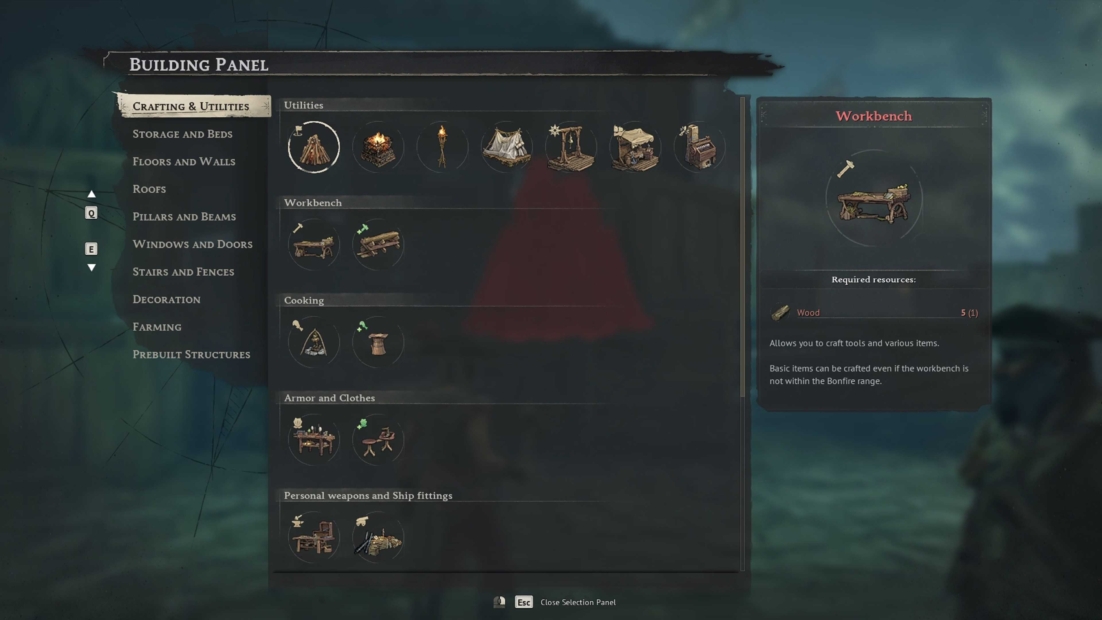
These add-ons are unlocked through exploration, quests, and new materials. Keep checking your crafting options as you progress. Once the required add-on is built, the connected station gains access to improved recipes.
The most important thing to understand is the Bonfire radius. Your add-ons don’t need to be placed directly beside the station. As long as both are within the same Bonfire zone, the upgrade applies.
Important add-ons include:
- Workbench: Tool Shelf, Toolbox, Sawhorse
- Weaponsmith Workshop: Bellows, Water Barrel, Anvil
- Cooking Fire: Cutting Table, Cookware Shelf, Supplies Rack
- Armor and Clothing Workshop: Material Rack, Shoemaker’s Bench, Try on Mannequin
- Jewelry Table: Jeweler’s Bench, Jewelry Cabinet
- Alchemy Table: Reagent Table, Distiller, Stove, Pot
Try to keep related stations close together. A good layout saves time, especially for stations that naturally work in sequence.
Useful station placement:
- Charcoal Kiln near the Smelting Furnace
- Smelting Furnace near armor crafting
- Alchemy Table near storage chests
- Wharf close to the water
- Workbench near almost everything
Don’t waste materials by building duplicate add-ons. For example, one Sawhorse upgrades every compatible Workbench within the same Bonfire radius. Build smart, keep your layout compact, and your base will be much easier to use.
Build Faster with PLITCH!
If you want to make base building and crafting station upgrades less grindy, PLITCH’s Windrose cheats can help you avoid much of the resource pressure. Free Item Use (Build & Craft) is the most useful code here, because it lets you focus on layout, upgrades, and experimentation without constantly farming Wood, Clay, Stone, or Copper.
Set Item Amount (hovered in inventory) is also perfect for gathering specific materials for add-ons, stations, or repairs. Instead of pausing your build to gather more supplies, you can stock up and keep going.
For larger construction projects, Faster Movement Speed, Unlimited Stamina, and Fly/Hover Mode make it much easier to move around your base, reach awkward spots, and test layouts. If you want to level your character alongside your crafting setup, Add XP and Add Attribute/Talent Points are also useful shortcuts.
Check out this blog to learn more about PLITCH and our Windrose Trainer Showcase on YouTube, to see our cheats in action!
Happy Gaming!
More Windrose guides: