Building a steady supply of resources is the backbone of StarRupture. If your storage runs dry, progress halts. Our StarRupture Ore Guide shows you how to find, farm, and automate every important ore in the game, so your base keeps running while you focus on expansion instead of constant resource grinding.
Table of Contents
Wolfram
Wolfram is one of the first resources you’ll encounter in StarRupture. You usually start mining it during the tutorial, and for good reason. It’s everywhere and easy to spot once you know what to look for. The brown-colored veins stand out clearly, especially because of the small archway in the middle.
You can gather Wolfram in several ways, depending on how fast you want to progress.
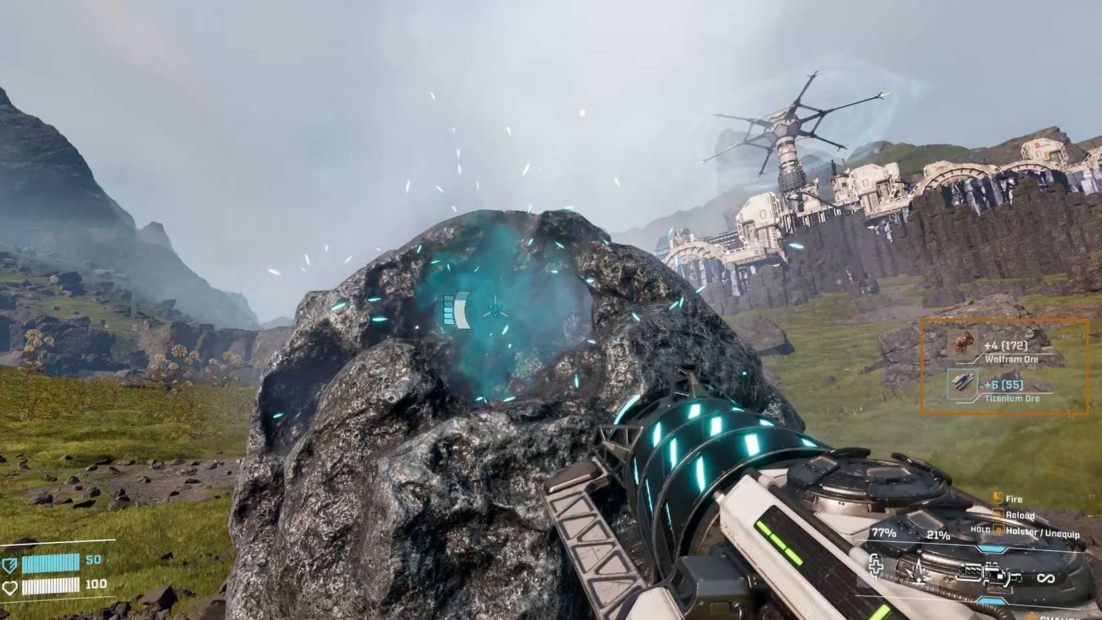
- Use your mining tool to harvest Wolfram directly from any visible vein
- Pick up loose chunks on the ground for a quick early boost
- Build an Ore Excavator on flat veins for automated extraction
If you go for the Excavator, remember one important thing. It won’t work without power. You must connect it to a power generator using platforms or rails. Without a connection, there’s no ore.
Good spots are easy to reach early on:
- Near the Orbital Lander
- North and northeast of your starting area
- Far north for a larger vein once you explore more
Titanium
Titanium is an early resource in StarRupture that starts mattering faster than you might expect. Even though it unlocks early, it often becomes a bottleneck if you ignore it. You’ll usually rely on automated mining pretty quickly, since manual gathering only gets you so far.
Titanium veins look rough and stone-like, with a distinct gray tone. On the map, they appear as small gray markers, often grouped rather than forming a single large deposit.
To keep your storage filled, focus on these sources:
- Ore Excavators placed on flat Titanium veins
- Loose gray rocks found while exploring
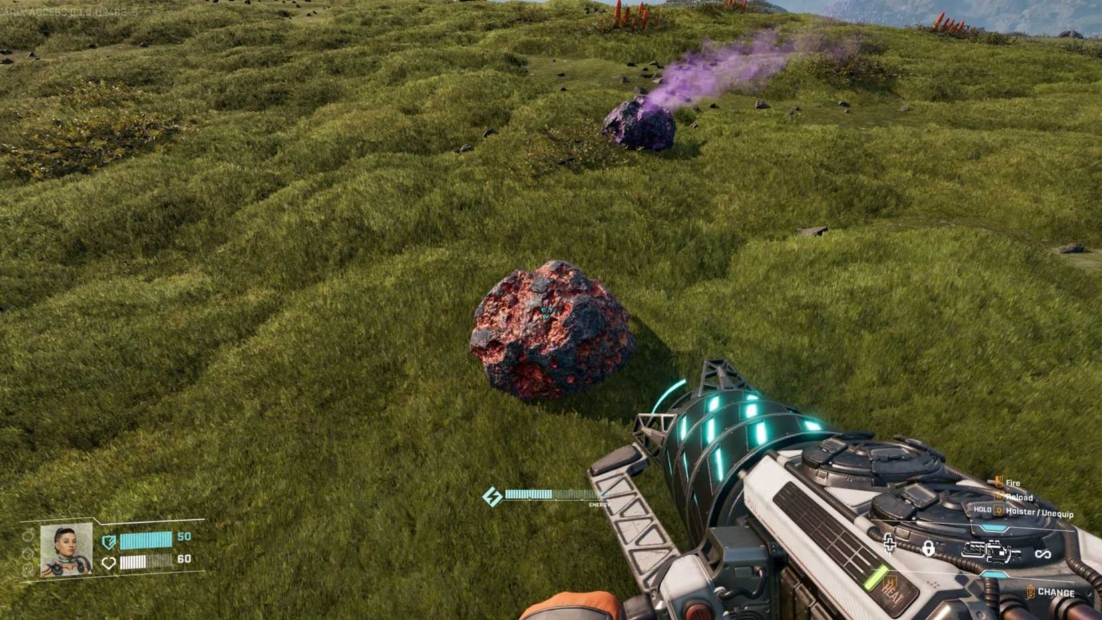
- Meteorites, which are always worth breaking
Head north or northeast from the Orbital Lander to secure reliable Titanium early and avoid painful build delays later.
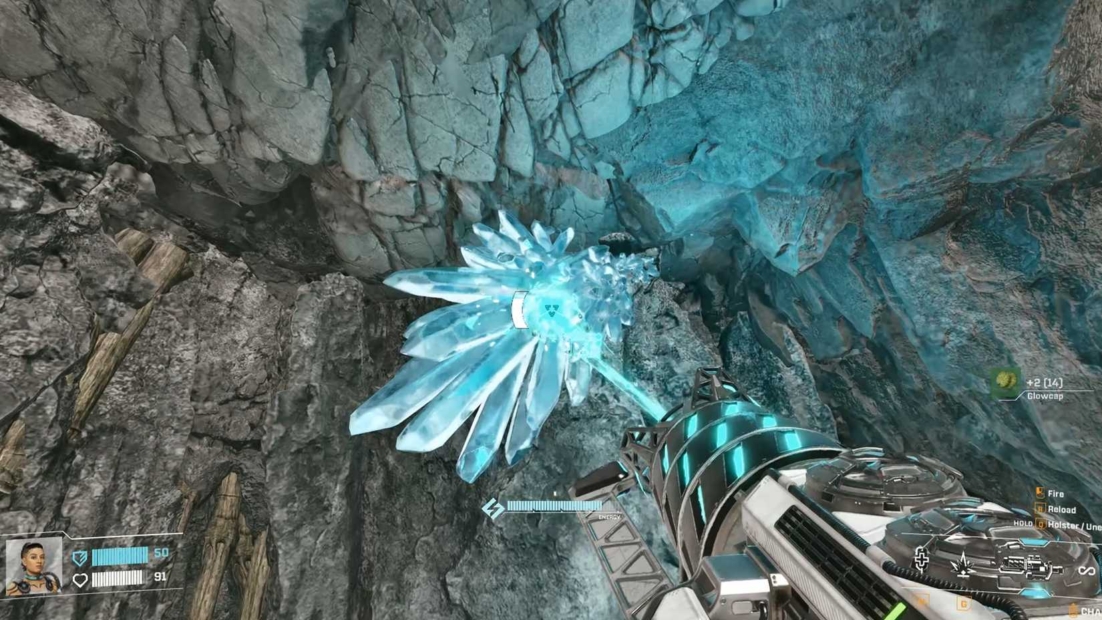
Calcium
Calcium is the first resource in StarRupture that truly pushes you out of your comfort zone. You won’t get it handed to you in the tutorial. Instead, you need to explore and actively search for it before you can start mining.
Calcium veins stand out in a very specific way. Look for damp areas with white, tooth-like structures sticking out of the ground. Once you see them, you won’t miss them again. This is also the last ore that still works with an Ore Excavator, so make use of it while you can.
Good Calcium spots are easy to reach early.
- North and east of the starting area
- Larger deposits northeast, past the mountains
- Small white rocks with black spots for quick pickups
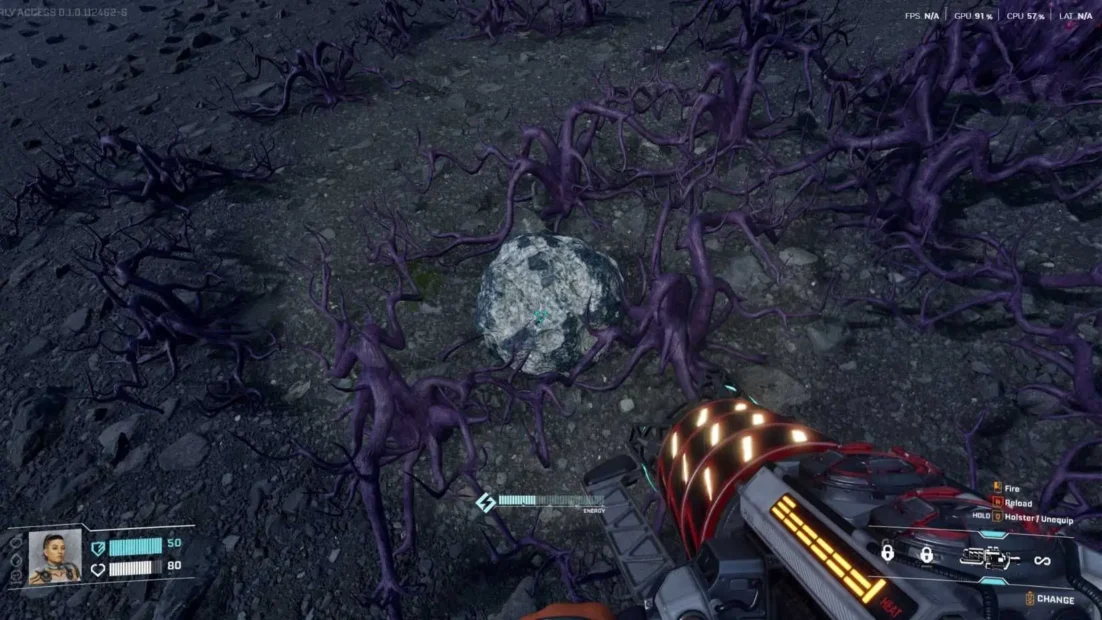
Helium-3
Helium-3 is a mid-game resource in StarRupture that you’ll notice long before you need it. Early on, you might come across small rocks or meteorites leaking purple gas. Breaking them yields some Helium-3, but it mostly sits in storage for a while.
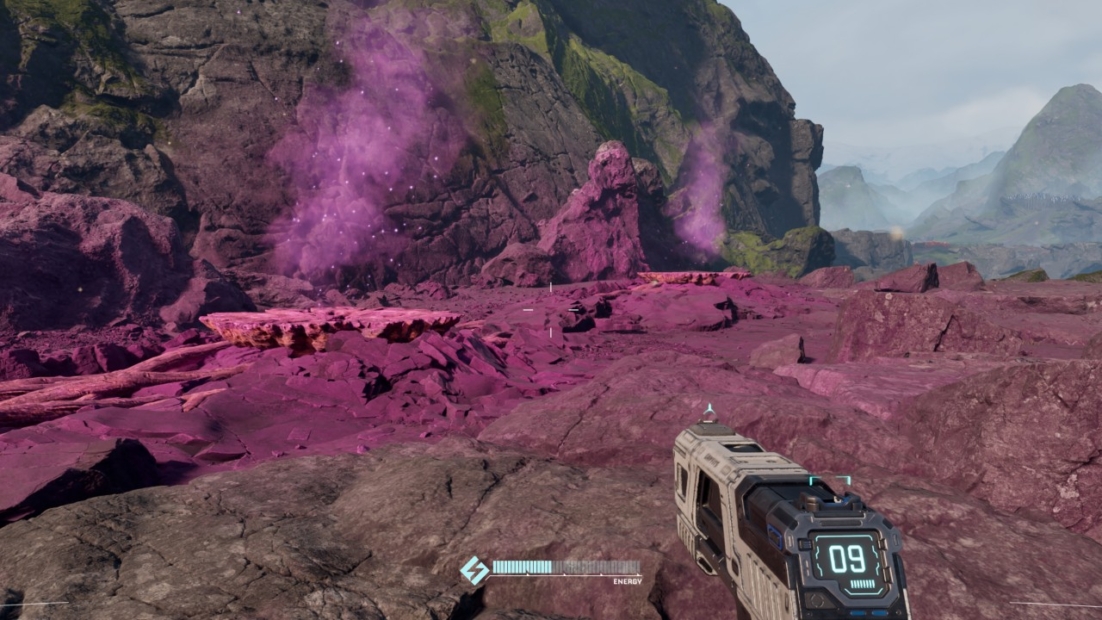
Real farming starts much later. To extract Helium-3 properly, you need to locate purple geysers scattered across very specific areas of the map. These spots are rare, and one of them is blocked by an abandoned base, making it unusable.
Reliable geyser locations include:
- Far north of the Orbital Lander
- Far east of the starting area
- A triple geyser north of the large Calcium vein in the northeast
There is one big catch. You can’t build the extractor until your Selenian Corporation reaches level six.
Sulfur
Sulfur follows completely different rules. You won’t find Sulfur as loose rocks on the ground. If you’re not mining it, you simply don’t have any.
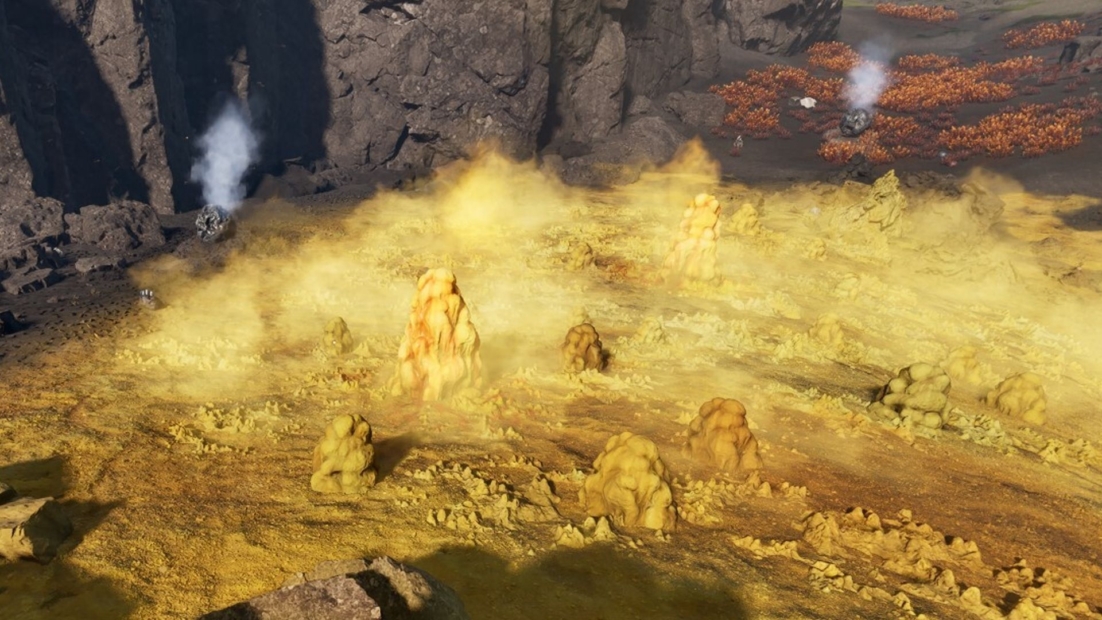
Finding Sulfur veins is easy; surviving them is not. These areas are surrounded by corrosive air that damages you on contact. On the map, they stand out clearly with their bright yellow markers. Getting close without preparation is a fast way to lose health and patience.
Before you can even think about mining Sulfur, you need progress.
- Reach Selenian Corporation level nine
- Unlock the Sulfur Extractor
Even then, timing matters. You can’t place extractors while the air remains corrosive. The trick is to visit Sulfur veins right after a rupture, once the heat and toxicity fade. Place the extractor immediately and secure your farm before conditions turn hostile again.
Ignitium
Ignitium works very differently from every other resource in StarRupture. You can’t mine it whenever you want. It only appears after a heat wave, which makes timing everything tricky.
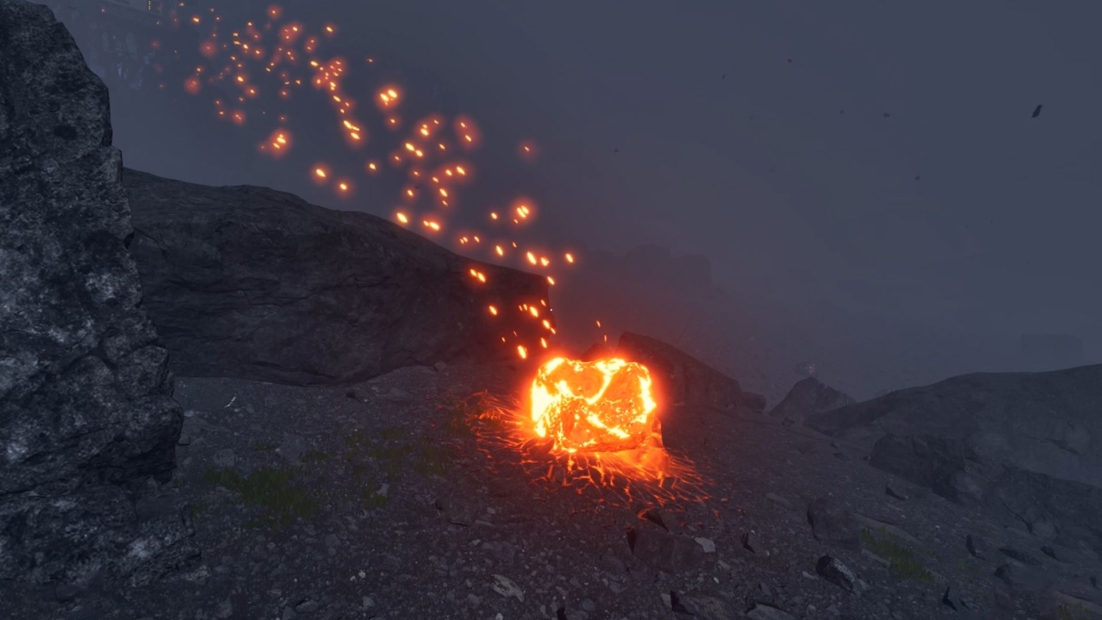
When a heat wave hits, the planet burns for a few minutes. You should stay inside your Habitat and wait it out. While you wait, look through the window and scan the landscape. Ignitium appears as rocks that burn brighter than everything around them. Once the planet starts cooling down, it’s go time.
To collect Ignitium:
- Leave your Habitat as soon as the heat wave ends
- Look for flaming rocks in the distance
- Use your mining device immediately
You have only a few minutes. Once the planet fully cools, the rocks vanish and the chance is lost. Then you must wait for the next heat wave.
Ignitium is critical for progression. You need 10 Ignitium to upgrade your Base Core to level 2, and you will build multiple Base Cores later. Missing a wave slows everything down significantly, so never ignore one.
Quartz Ore
Quartz Ore is one of the trickier resources to obtain in StarRupture. You won’t find it on the surface at all. Instead, it’s hidden deep within underground caves, and those caves are usually blocked by indestructible veins.
The key is timing. When a heat wave hits, everything on the surface gets burned, including the blocking veins. Once the planet starts cooling down, you get a safe window to enter the caves and explore freely.
Inside, Quartz is easy to recognize and easy to farm.
- Shoot Quartz deposits with your mining device
- Each destroyed storage gives around 5 Quartz Ores
- Move fast before the environment resets
Quartz belongs to the valuable category, not regular resources. You still use it for crafting, but it’s rarer and harder to stockpile.
To find more caves, always activate Geo Scanners.
- They reveal underground areas on the map
- More caves mean more Quartz farming routes
StarRupture Ore Guide: Ore Extraction Automation
Automation is where StarRupture really shines. Everything starts with Base Core placement. Dropping your base in a random spot is a beginner’s mistake. You want to build near areas rich in Wolfram, Titanium, and Calcium. Shorter distances mean fewer rails, less energy drain, and fewer headaches later.
Once the base is down, energy becomes your biggest concern. Automation eats power fast.
- Build multiple Solar Generators early
- Expand your energy grid as production grows
- Always plan for more machines than you need right now
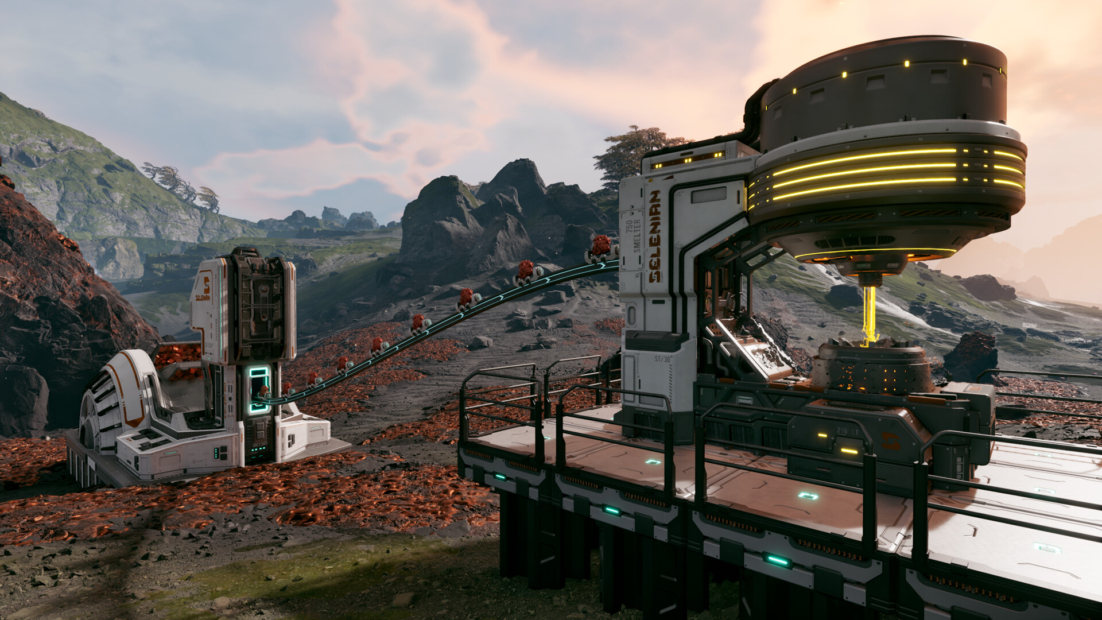
The goal is simple. Create a system that automatically mines, refines, and transports ores until they reach the Orbital Cargo Launcher.
Start with the basics.
- Place an Ore Excavator on a valid ore vein
- Connect it to a Smelter using Rails
- Use Rail Supports if terrain blocks the path
The Smelter turns raw ore into bars and blocks. You can also connect multiple Ore Excavators to a single Smelter using Rail Connectors, keeping production efficient and centralized.
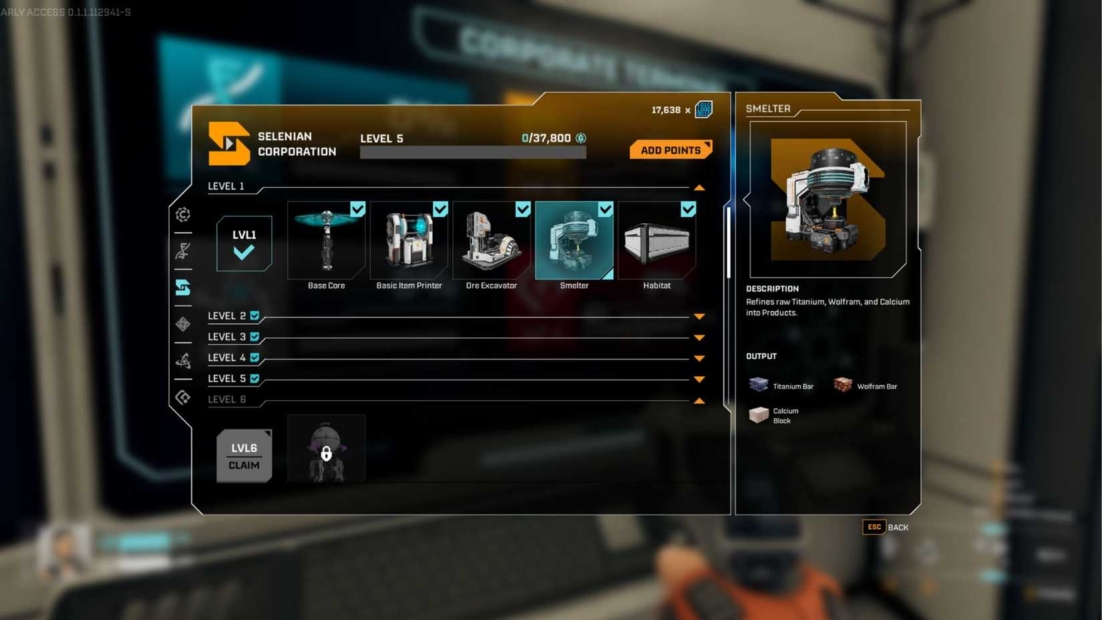
Early on, the Smelter usually feeds directly into the Orbital Cargo Launcher. Most contracts at this stage require Titanium Bars or Wolfram Bars, so this setup works well.
Later, things get more complex. You’ll need extra machines.
- Fabricators for Sheets and advanced parts
- Furnaces for higher-tier processing
- More rails to keep everything flowing
Once set up correctly, the system runs on its own. You focus on expansion, not babysitting machines.
Automate Faster with PLITCH!
Building a fully automated extraction network in StarRupture can be time-consuming and punishing, especially during early setup. This is where PLITCH’s StarRupture cheats help you stay focused on planning rather than survival management.
The most useful codes for automation are Fast Resource Mining and Building Materials Do Not Decrease. They let you place machines, rails, and supports without repeatedly stopping to farm or restock. Long rail chains become much less frustrating.
For base-building efficiency, Unlimited Energy and Refill Energy let you sprint between machines and expand faster, without downtime. No Fall Damage is perfect for placing rails across rough terrain.
Environmental safety also matters during expansion. Low Heat, Low Radiation, and No Corrosion allow you to work near hazardous areas without being forced back to the Habitat.
Check out this blog to learn more about PLITCH and watch our StarRupture Trainer Showcase on YouTube to see our cheats in action!
Happy Gaming!
Check out our other StarRupture guides: